 We all intend to plan ahead, but too often let the day-to-day minutia get in the way of making a calendar for the year. Sure, you can’t know every detail to anticipate. Heck, you can’t know half the priorities
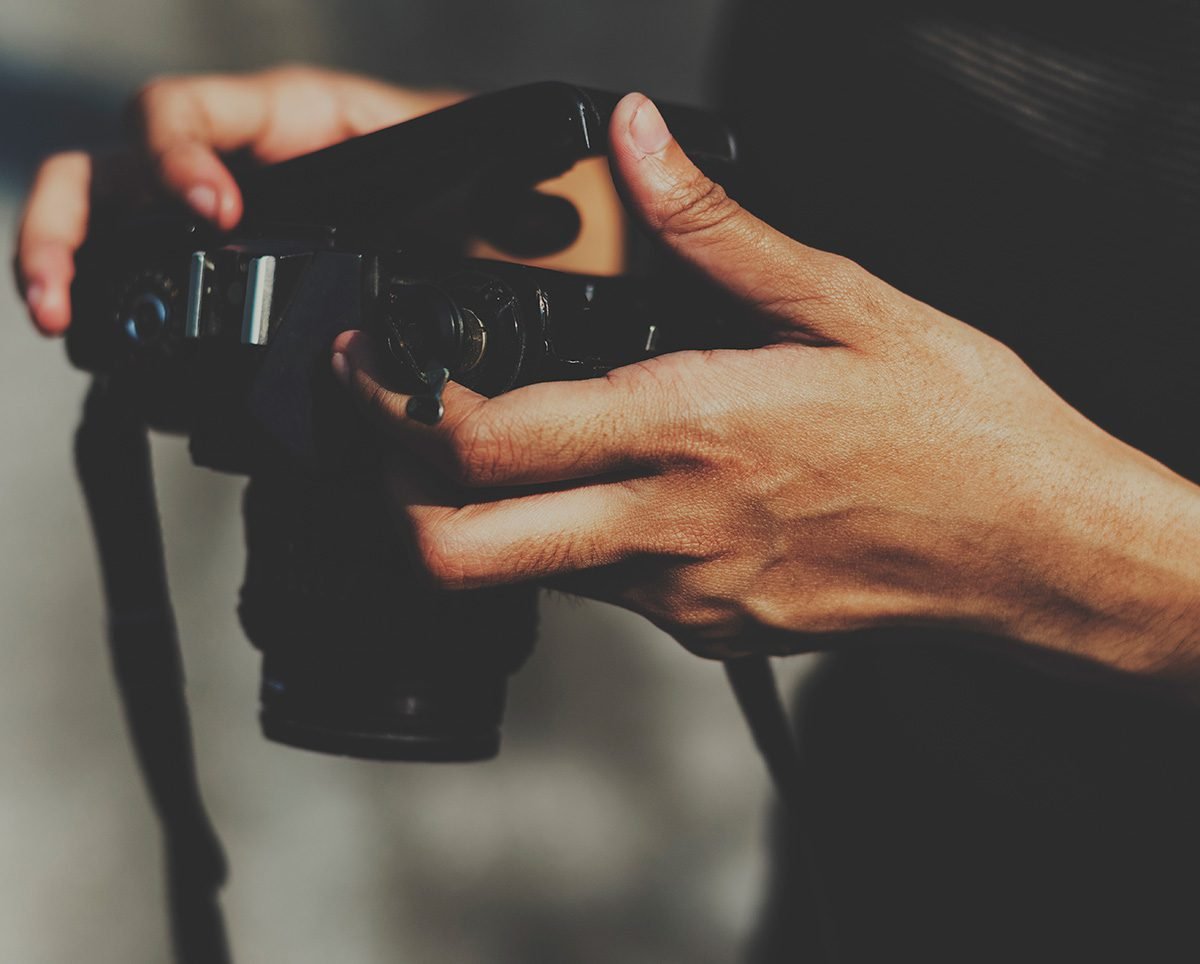
What Is Noise In Photography?
So you got that fancy brand new DSLR camera and are ready to start taking pictures. It’s an empowering feeling right? Now being able to call yourself a photographer!
There’s a whole lot of settings and knobs but you stick to what looks easiest which is the auto setting. No need to dive deep into the specs and details, just point and click. I mean… how hard could it really be right?
You even got yourself the photography subscription to Adobe CC and pull your first shoot into Lightroom to start your first round of edits. And then you see it. White speckles across your entire image.
This is what is known as noise, or grain in photography.
What Exactly Is Noise?
At it’s core, you could consider noise to be a digital blanket of random particles that cover your scene. The potential for noise is always there no matter where you shoot.
When you snap a picture, your camera has one job and that is to receive enough light from the lens in order to capture the picture. When there is an absence of light, that digital blanket is thicker so to speak and your camera has to fight in order to get enough data from what you are pointing the camera at. These random particles show up in almost any image (even ones that have been exposed correctly) if you zoom in far enough and increase the exposure.
If we look at it from a technical stand point, digital noise is simply the signal to noise ratio measured in decibels. If your noise is higher than your signal (available light hitting your subject) then you will inevitably see that grain that most photographers dread to see.
How Can You Reduce Noise In Your Images?
Before we can answer that fully, we need to take a look at the three main settings of your camera. These three settings are the main deciding factor of the exposure and quality of your image. Think of your desired picture as a bucket that you pour light into from your camera. In order to get a good image, that bucket needs to be full. These three settings determine how light is poured from your camera and into the bucket.
Aperture
Your aperture, is the amount of light that your lens lets into the camera. If you look closely at any lens while dialing up or down your aperture, you’ll notice a small rim inside your lens that opens and closes. The more open your aperture is, the more light it allows in and the more deeper your depth of field becomes. The more light that comes in, the quicker your bucket fills.
Shutter Speed
In DSLR cameras, there is a small mirror that blocks the light from reaching the sensor. (In the old days, it blocked light from reaching the actual film) Your shutter speed dictates the amount of time that mirror drops and allows the light inside the camera. A slower shutter speed, obviously, allows for long exposures, but will also produce blurry images unless your subject is at a complete stand still. Where as a fast shutter speed results in freezing motion but allows less light in. You’ll normally see shutter speed in the range of 1/150 to 1/500 of a second for a standard photoshoot. Those numbers may not sound like a huge difference, but when you’re photographing someone with the wind blowing, that 200th of a second can be the difference between your subjects hair being crystal clear, or that single lock of hair being blurry as it moved a centimeter across their face. The longer your shutter is open, the more light you allow into your bucket.
ISO
Last but not least, we have your ISO. Inside of your camera, there is a sensor that replicates the actual raw film that was used when cameras were first made. Your ISO dictates your camera’s sensitivity to light. In low light situations a higher ISO is normally needed in order to properly expose your image. ISO numbers range from camera to camera and can be as low as 100 or as high as 25,000 and above. The higher your ISO, the faster you fill your bucket, but there can be a downside to this setting. In most cases, the amount of noise in your photography is a result of inadequate lighting and higher ISO settings to compensate. When you crank up that ISO you are also making your camera much more sensitive to that digital blanket of random particles that we spoke about earlier.
As you can see, all three of these settings directly affect how your “bucket” fills with light. All three play their part and knowing what settings to use and when, is crucial to getting a well exposed image. When you place your camera in auto mode, it is basically making these decisions for you. Your camera doesn’t care about noise, it cares about getting enough light into the camera so that you actually have something to see on your display screen. If you’re shooting in low light conditions, then your camera will naturally either give you a slower shutter speed, resulting in more light being allowed into the camera, or it will increase your ISO, resulting in a grainer image.
So how can we actually avoid noise in photography, or at least reduce it?
The Proper Balance
Properly exposing your image is a unique blend of your ISO, aperture and shutter speed working together to find that perfect balance and filling your bucket efficiently. Understanding how this exposure triangle works is imperative for any photographer and that knowledge will allow you to shoot better digital photography in a wide range of scenarios. Of course, sometimes there are elements that are beyond your control. You may be shooting in a dark room, trying to focus on a stage with very limited light. You may find yourself photographing night street photography where you cant bring additional lights with you. In some cases, there isn’t going to be a whole lot you can do and even the best photographers will find themselves in a situation where digital noise is a concern.
Let’s go over a few options that you actually can take in order to reduce or avoid the noise.

Lower you ISO
This seems simple enough right? Want less noise, use less ISO. But as stated before this might not be an option if your available light is limited. You still need to fill that bucket, so what else can you do?
Slow your shutter speed down
At a slower shutter speed you allow more light to enter your camera, thus reducing the need for such a high ISO. But again, this might not be possible. You may not have a tripod, you may be photographing someone on stage that is constantly moving and a slow shutter speed would blur your image. So what’s another option?
Add More Light
If you have it at your disposal, more light is technically the cure all for noise. If you are in a studio setting then this might be an easy task. Add a rim light, move the key light closer or add a 3rd light to the mix. The more light you can introduce into your scene, the more that digital blanket is pulled back. More light means lower ISO, which means faster shutter speeds which results in a crisp and well exposed image. But what if adding more light isn’t an option?
Noise Reduction Software
In most image editing software, Lightroom for instance, you can increase your noise reduction. This will make the image appear to have less noise. But let’s take a closer look at what this software actually does. Remember when we said that noise is nothing but random digital particles that blanket your subject?
Once that image is taken, there’s really no way to actually get rid of it, but you can attempt to mask it, or blend it and that is what noise reduction software does. On higher settings, your software will blur these random pixel particles into the adjacent pixels giving the illusion that the noise has disappeared.
But use this setting with caution. When you raise that setting, it’s not only blurring the pixels of the noise, but it is also blurring the pixels of your subject as well. Zoom in and look at your subjects eye and try to find the fine details, the eyelashes and the crisp reflection from the pupil. More than likely it will be gone along with your noise.
So stand on the side of caution when utilizing noise reduction software because when you lose noise you also lose detail.
Examples Of Noise
Below you will find a group of pictures, all images were shot in succession of the same subject with the same aperture and shutter speed. The only variable here is the ISO setting.
1/200 1.4F 200 ISO

1/200 1.4 F 800 ISO

1/200 1.4 F 1600 ISO

1/200 1.4 F 3200 ISO

1/200 1.4 F 6400 ISO

1/200 1.4 F 8000 ISO

1/200 1.4 F 12,800 ISO
1/200 1.4 F 20,000 ISO
Summing It All Up
Your image quality will greatly be affected by the amount of noise that your camera captures. Fixing noise problems is actually very easy, if you have the light available. More light, means less noise. But we all know that more light is not always an option. At times, us as photographers are forced to deal with the hand that we are dealt and sometimes that hand isn’t pretty. When you can, plan in advance. Ask questions before a shoot. Inquire about the available lighting and ask if you can bring your own as well. It’s never a bad idea to have a portable spotlight and an extension chord in your gear box, you never know when you might need it.
But the best and most effective way to reduce noise in your images is to know your camera. Know it’s limits, know what is possible and what is not. Play with the settings, walk around the yard at night and see what your equipment is truly capable of. Knowing your equipment is the best proactive measure you can take and only requires your time to learn it.
Recent Comments